How to Read Contour Lines on a Hiking Map
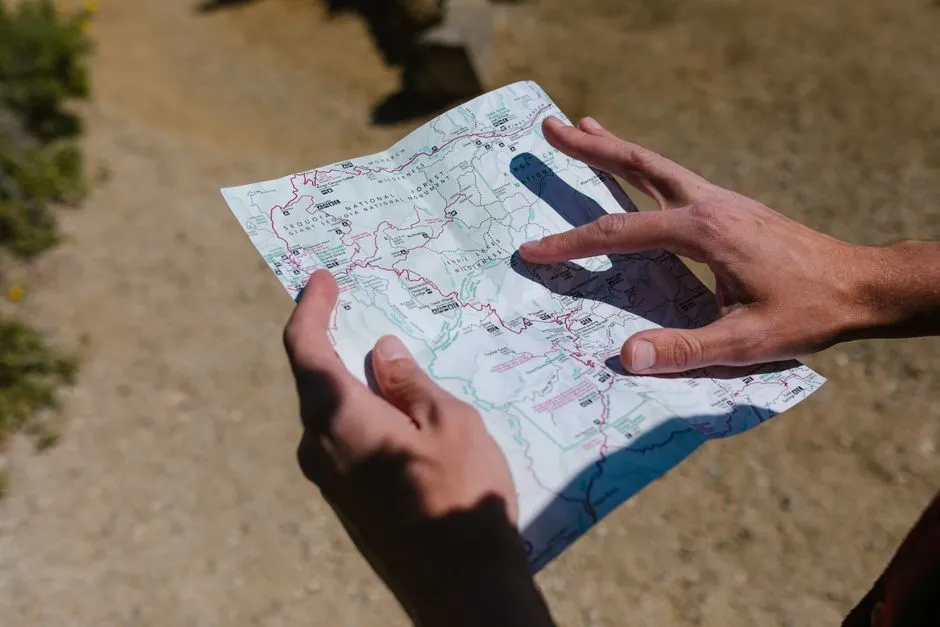
How do you read contour lines on a hiking map?
Read the map key for the contour interval and units, then trace labelled lines: each contour joins points at the same height. Compare spacing to understand the terrain, but do not treat contours as trails or proof of safe access. Check current official conditions and carry backup navigation you know how to use. If lost and unable to retrace safely, seek help; in the United States call 911 and stay put unless there is an immediate threat to life.
Start at home with a complete map, including its key. This guide explains a reading skill and a fictional arithmetic exercise; it is not a route recommendation or a substitute for navigation training. Keep the identity of the map beside your notes so its units and symbols do not become separated from the numbers you copy.
What does a contour line represent?
Ordnance Survey's beginner guide defines a contour as joining points of equal height above sea level. Follow a line to a label when one is not immediately visible. Some contours are unlabelled; nearby labelled contours help establish their height.
Do not confuse a contour with the route you intend to walk. On your own map, identify the legend entry for a trail separately from the entry for relief. If an app's route overlay hides the underlying map, inspect the map without that overlay before relying on your interpretation. Consult that app's documentation for its actual controls.
What is the contour interval?
The interval is the vertical height difference between successive contours. OS's advanced guide directs readers to the map key for the interval used. Read the units too.
Record these fields before calculating anything:
- Map title or saved map-layer name.
- Contour interval and its unit.
- Two legible contour labels around the area being studied.
- The direction in which the labelled heights increase.
Keep an uncertain reading marked uncertain. Do not decide that a partly hidden digit must be the value that makes your calculation work. Find a clearer label or a better view of the same map. Our coordinate guide covers a different task: identifying and sharing a position.
How do you count elevation steps correctly?
Use this invented desk example. It represents no real trail, map or destination. Suppose a training sketch specifies a 20-metre contour interval and shows an uninterrupted uphill sequence from a labelled 240-metre line to a labelled 320-metre line.
| Line reached | Height | Increase from starting line |
|---|---|---|
| Starting line | 240 metres | 0 metres |
| Next line | 260 metres | 20 metres |
| Next line | 280 metres | 40 metres |
| Next line | 300 metres | 60 metres |
| Final line | 320 metres | 80 metres |
The difference is 320 - 240 = 80 metres. Dividing 80 by the stated 20-metre interval gives four steps. There are five lines including both endpoints, but only four intervals between them. Counting both endpoints as additional climbing would give the wrong result.
Now change the fictional itinerary: start at 240 metres, climb to 320, descend to 280, then climb to 340. The arithmetic changes:
- First ascent: 320 - 240 = 80 metres.
- Descent: 320 - 280 = 40 metres.
- Second ascent: 340 - 280 = 60 metres.
- Combined ascent in this simplified exercise: 80 + 60 = 140 metres.
- Finish minus start: 340 - 240 = 100 metres.
The 100-metre endpoint difference and 140-metre combined ascent answer different questions. This exercise assumes the stated segments contain no other rises or dips. It does not estimate the total ascent of a real GPX recording. Use the separate GPX inspection guide for file-specific checks.
What does close spacing tell you?
OS explains that closer contours indicate steeper slopes. Compare within the same map scale and interval. Its advanced guide warns that small features can fall between contours and ground slopes can vary. Spacing cannot certify safe passage.
Use the pattern to form a question for further checking, not a shortcut. For example: "This part of the mapped route crosses a closely spaced section; what does the current official route description say about that section?" That is a reading prompt, not permission to select a different line across the hillside.
How can you check your interpretation before a trip?
Write a short map-reading record while the full key is available. Our suggested headings are observed, calculated and unresolved.
In the training example, "the key says 20 metres" belongs under observed. "Four intervals account for 80 metres" belongs under calculated. "Does this describe the whole ascent?" remains unresolved until you have examined the complete sequence. Do not copy the calculated column into a trip plan as though it settled the unresolved one.
For a real route, note which sections need further explanation from the land manager or a qualified navigation instructor. Check current official route information and restrictions before travel. An arithmetic check cannot answer whether a gate is locked, a crossing is usable or a trail is closed. Avoid adding an inferred shortcut to your route file.
NPS's Ten Essentials guidance says to learn your navigation tools before going out, bring a physical backup map and extra phone power, and tell someone where you are going and when to expect you back. Read the park's current information. Our offline map guide covers download and device checks separately.
What if the map and your surroundings disagree?
Stop somewhere safe and assess. The NPS emergency plan advises retracing only if safe. If lost and unable to retrace, call 911 in the US and describe your location. Stay put unless there is an immediate threat to life. Elsewhere use the local emergency number. Follow responders' instructions; do not enter hazardous terrain.